How to get seeds to grow faster

How to get seeds to grow faster
There’s so much potential inside a tiny seed. It can produce roots, leaves, flowers and fruit, and even grow into a towering tree. But seeds need time and a bit of care to get going. Most seeds germinate (start to grow) in response to soil temperature and moisture, and after a week to 14 days, you could start to see shoots emerging from the soil. There is, however, a lot of variation depending on what you are trying to grow. The entire seed raising process will be faster and more successful with a few tips and tricks.
Want specific tips on growing vegetables from seed? Click here for a comprehensive article!
Follow our steps and your seeds will soon be sprouting!
Top 10 tips to speed up your seeds
Tip 1: Getting started.
While lots of seeds can be sown directly into the ground where they are to grow, results can be better, especially with small seeds, if they're sown into seed trays or punnets in specially formulated seed-raising mix. This allows the gardener to keep a close eye on watering, light, warmth and pests, and can speed up germination.
Tip 2: Some like it hot.
When conditions are too cold for germination, applying a little bit of extra warmth underneath the seed tray or punnet can speed up the time it takes for the seed to send out its first roots and for a shoot to emerge. This is called ‘bottom heat’ and is provided with a useful bit of kit called a heat mat. Alternatively, create extra warmth by placing the seed tray or punnet into a foam box, mini glasshouse or on the windowsill. Don’t go overboard: temperatures should be just a few degrees warmer than the ambient temperature. If it is too hot, the seeds can dry out and abort. Don’t allow the warmed seed-raising mix to dry out. Seeds that respond to bottom heat are usually seeds that germinate in warm conditions such as tomato, capsicum and eggplant.
Tip 3: Cool change.
Not all seeds need extra warmth to germinate. Brassicas are a great example - seeds from this family, including broccoli, cauliflower, cabbage and turnip, don’t need any extra warmth. Some plants even need to experience a period of chilling, called vernalisation (or cold stratification), to break their resting phase (known as seed dormancy). Many cold climate plants such as conifers and plants that germinate in spring need a cool period before they germinate which they get if sown in winter. Strawberries and columbines (aquilegia) are two plants that germinate more reliably after exposure to a cold spell.
Tip 4: Fresh is best.
While some seed can be stored for long periods – even years – before it is sown and will still grow, fresh seed usually germinates faster and more reliably. Seed that has not been stored in a cool, dark, dry spot may also fail to germinate. To test the viability of seeds, particularly seeds left over from previous years, soak a small sample from the packet in water. If they plump up and start to develop, they are viable. If they don’t change with four days, throw them away and buy a new packet of seeds.
Tip 5: Direct sown seed.
As mentioned in tip 1 (above), seeds can be sown in seed punnets or trays for more careful management - however, some seeds don’t do well in containers while others don’t like to be transplanted so grow best when direct sown into garden soil. Large seeds that germinate and grow quickly are often best planted directly where they are to grow; so too root vegetables such as carrots and parsnip. Don’t direct sow seeds when conditions are poor – for example, very cold or very wet. The appearance of fresh green weeds or self-sown seedlings in the garden is a good indication that soil is suitable for seed sowing.

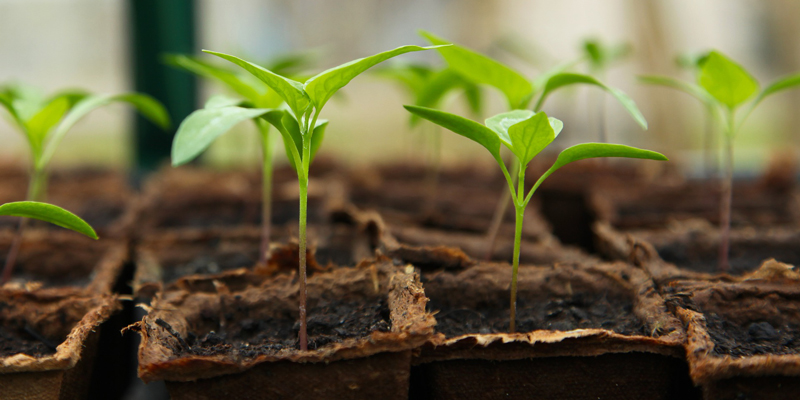
While some seeds benefit from growing in seedling trays or small punnets, others work best when sown directly into the garden bed.
Tip 6: Getting the moisture right.
Seeds like to germinate in a damp environment. Too wet and they can rot; too dry and the emerging root and shoot may dry out and die. Make sure the soil or seed-raising mix is damp, but not overly wet. Sow the seeds then keep the area moist - a misting bottle is a really handy tool to help you get the water balance right. Don’t wash seeds out of the ground with a strong jet of water.
Tip 7: Fertiliser needs.
Seeds don’t need to be fertilised, but once the seedlings have started to grow they benefit from extra nutrients. This can be a liquid feed applied every 7-10 days. Seed-raising mixes usually contain some fertiliser for the emerging seed. Left too long in the punnet, however, the young plants will run out of food and fail to grow.
Tip 8: Room to grow.
Once seedlings are large enough to handle, pick them out and transplant them into small, individual pots with a good quality potting mix. Take care not to break or damage the developing root system. Water over transplants with a seaweed solution to reduce transplant shock.
Tip 9: Protection.
Direct sown seeds may appear slow to germinate because they’ve actually been eaten or stolen. Rodents (rats and mice), ants and birds may eat seeds while snails, slugs, and some larvae eat emerging growth. Foraging hens along with the family pet may also dig up or dislodge seeds so they don’t get a chance to germinate. If these problems occur, re-sow but cover the seedbed with mesh or wire and protect seedlings with a pet- and wildlife-safe snail bait.
Tip 10: Planting depth.
Some seeds like to be deep in the soil while others like to be just left on the surface, perhaps with a light covering of soil, seed- raising mix or an inert material such as vermiculite. Sowing seeds at the wrong depth can cause slow or no germination. Follow the ideal planting depth and spacing for seeds is shown on the seed packet. Gently firm seeds into the soil or seed-raising mix so the seed is in contact with the seed bed.